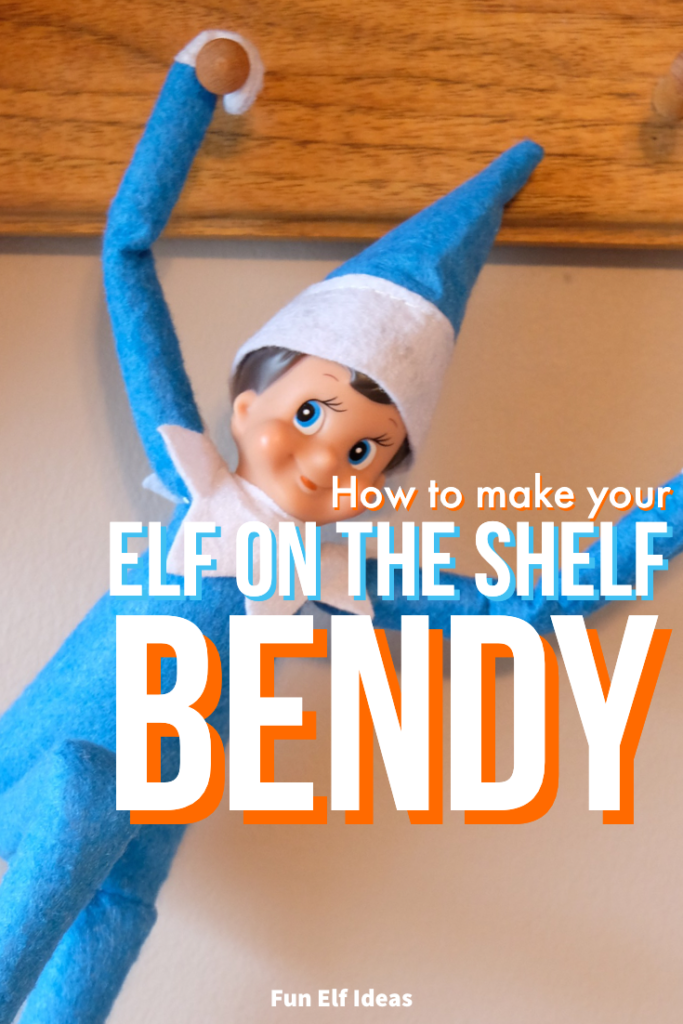
In this post I’ll show you how to make your elf on the shelf bendable – which will make it a lot easier to do some of the fun elf ideas you’ll see on this site!
This is my quick and easy method – and while it will require a bit of hand sewing (just a bit!!) it shouldn’t take you more than 30 minutes from start to finish.
You’d think it would be pretty easy and straightforward to add a wire armature to an elf doll, but it took me a few tries to figure out how to do it – quickly and easily, that is! At first I thought it would be better to do a new sew method, but after my trial and error I found that a tiny bit of sewing actually speeds the process up and allows you to insert the wire with much less effort.
With that said, here are the supplies you’ll need to make your bendy elf on the shelf:
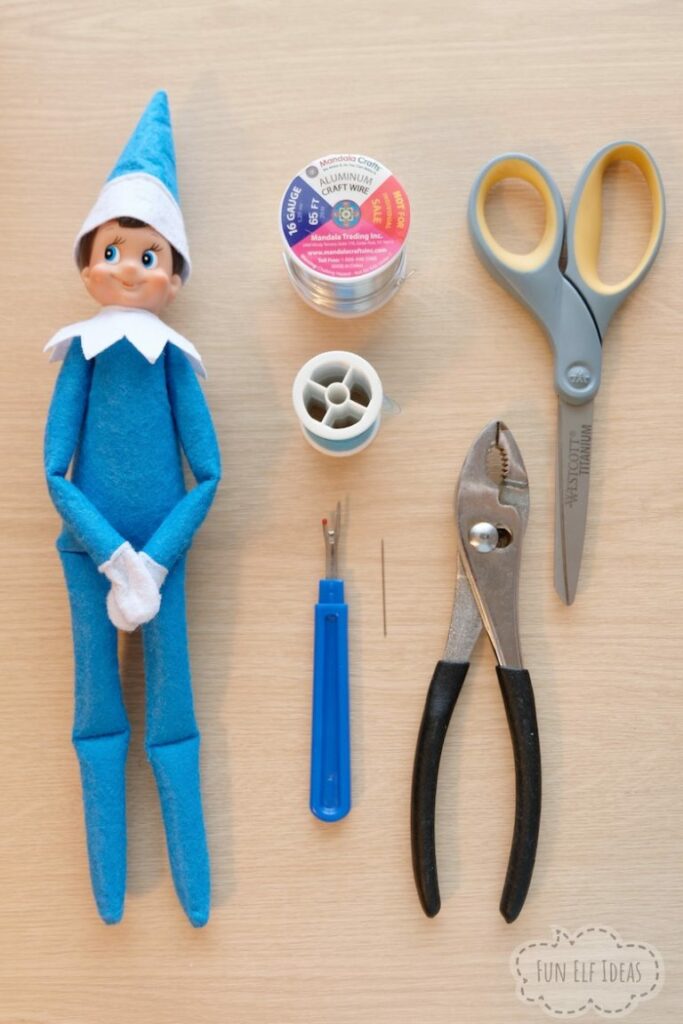
- An elf doll or knee-hugger doll
- Thread (any color will work, although if you have thread that matches your elf body, use that)
- A thin sewing needle
- Craft wire (16 gauge recommended)
- A seam ripper
- Needle nose pliar (not necessary but recommended)
As mentioned, any color of thread will work fine, although if you have thread in the same color of your elf, it’ll be less noticeable in the final result.
A thin sewing needle will work best since we’ll be sewing through felt.
If you don’t have a seam ripper, a fine-pointed pair of scissors could work also.
If you don’t have any of those items, don’t worry – someone has created a little bendy elf kit you can get to save money! Click here to check the price.
How To Make Elf On The Shelf Bendable – Step By Step Guide
Gathered your supplies? Let’s make your elf bendy!
The first thing you’ll want to do is to carefully rip out the seam that goes all the way around the elf’s “seat” piece. The legs may become detached from the body at this point, but it’s alright because we’re going to be sewing it all up at the end anyway.
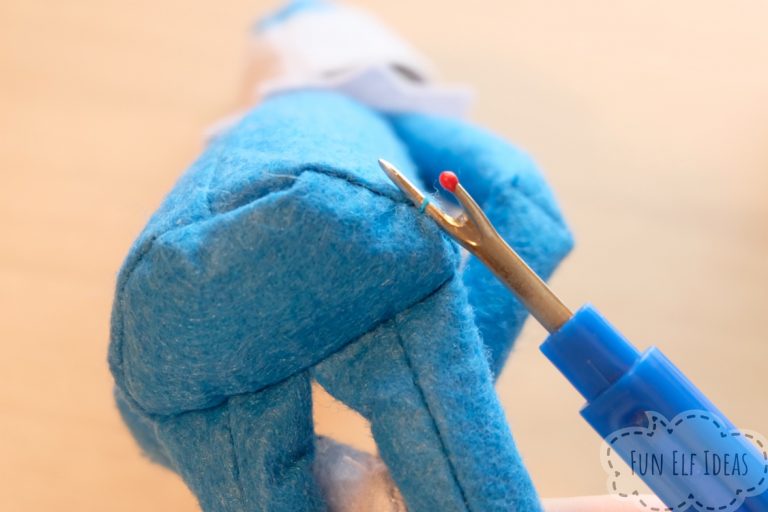
Next, rip out one or two stitches from the elf’s elbow and knee stitching. If your elf doesn’t have stitching over the top of its elbows and knees, you can skip this step.
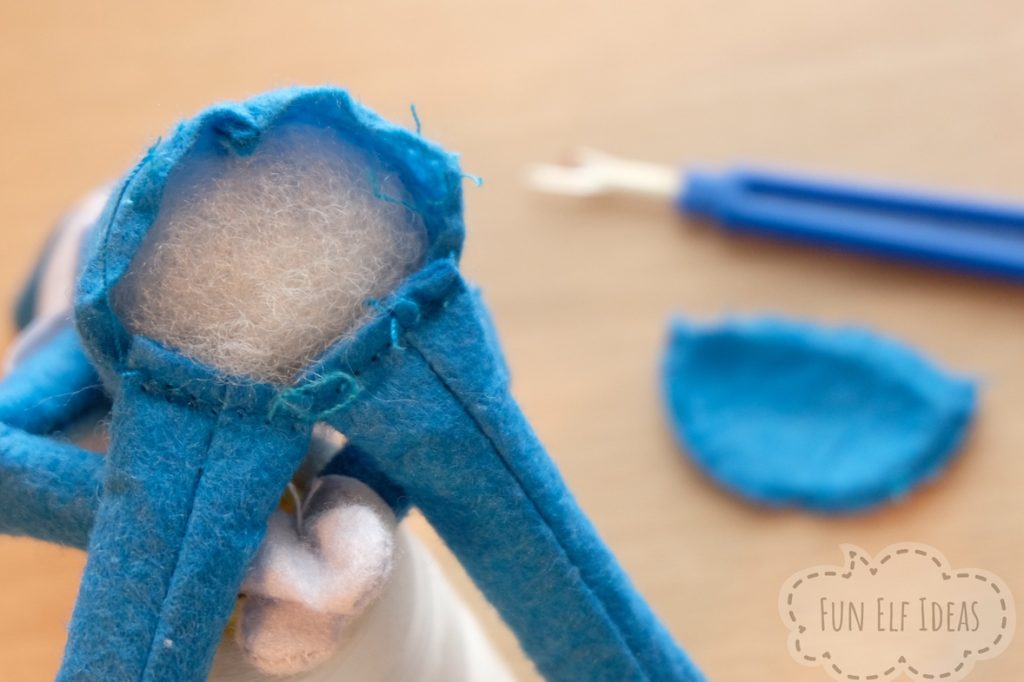
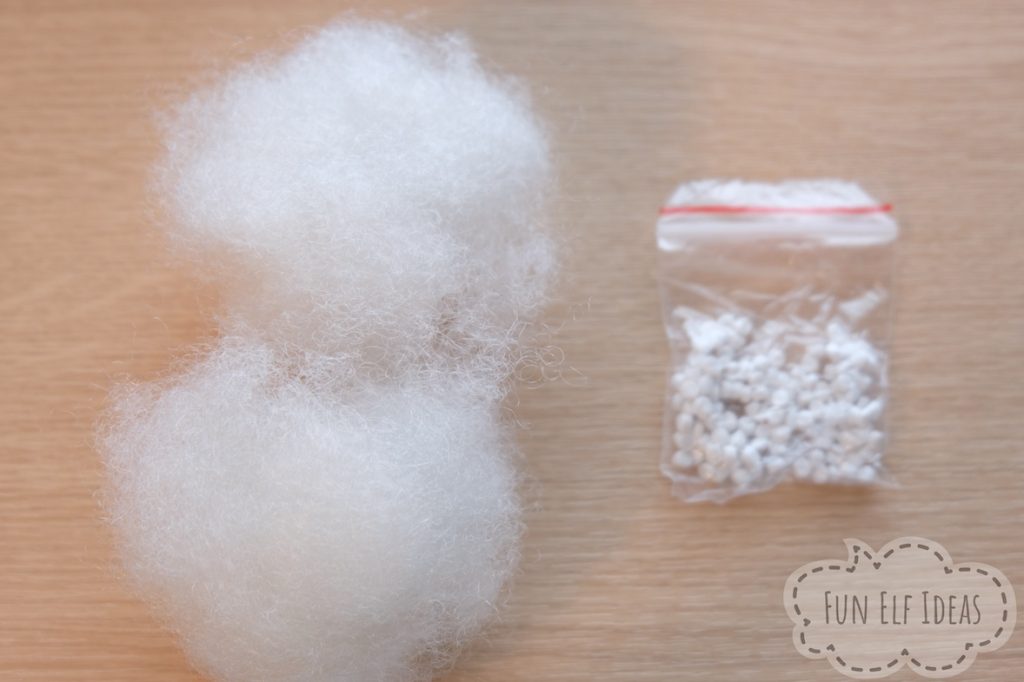
Once you’re done rippin’ seams, the next step is to pull out all the filling material from the elf’s torso. Usually their body contains a small bag of plastic “bean” pellets, and some fluffy poly-fill fibers. I found that pulling the fluffy stuff out all in one chunk, without pulling it apart, makes it easier to re-insert at the end.
Now you’re ready to add the wire armature. Cut a piece of wire that’s about 14 inches long. If you don’t have wire cutters, the best way to “cut” a wire is by using pliars to hold the wire where you want to cut it, and bend it back and forth quickly so that it breaks. Don’t use your scissors to cut the wire!
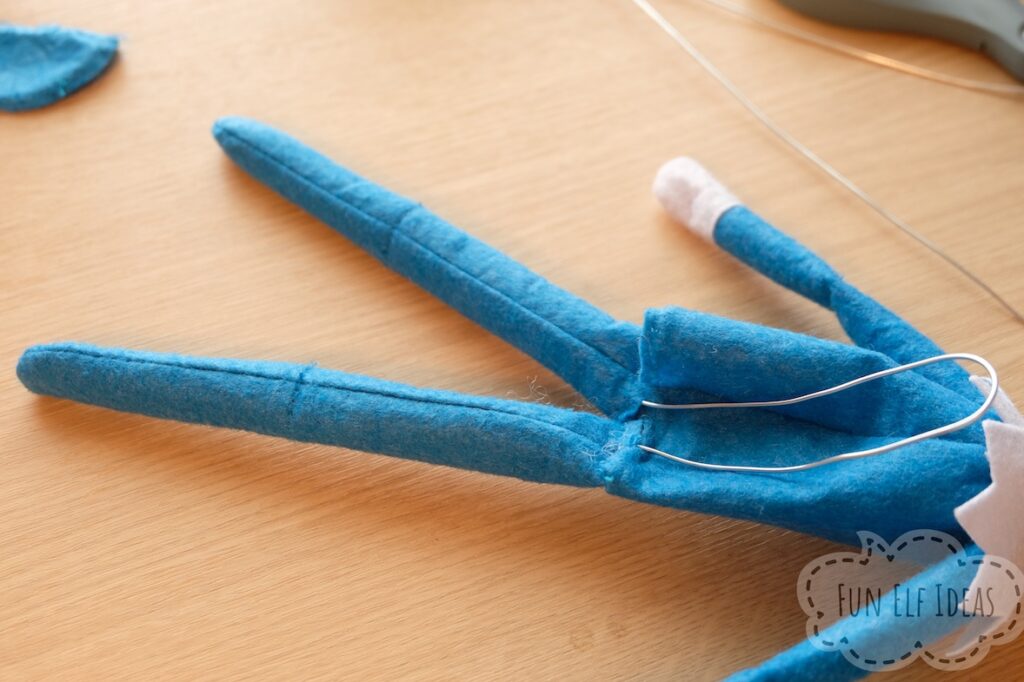
Make sure that your piece of wire is very straight. Then, slowly insert one end of it into the elf’s left leg. If the wire starts bending, straighten it before you push again or it won’t go all the way down to the foot.
Once you get the wire down to the foot (pushing it through the spot where you ripped out the knee stitches), you can use a needle nose pliars to bend the end of the wire into a small loop or hook shape. This will keep the wire from poking through the felt. If you don’t have a needle nose pliars, don’t worry, you can use your fingers like I did.
Do the same process with the other leg – straighten your wire, and push it through all the way to the foot, then bend a loop.
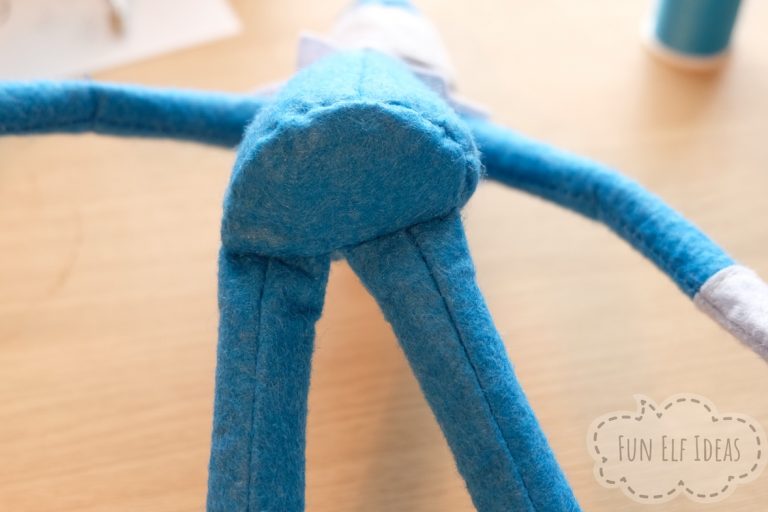
There should be a “U” of extra wire protruding from the top of each leg. This makes the wire armature stronger and more supported so that it’ll hold positions better.
Next, we’ll add the wire into the arms. I find that it’s easiest to poke or cut a very small hole with scissors and poke the wire through that, even if it shows a little bit from the outside. It won’t be very noticeable.

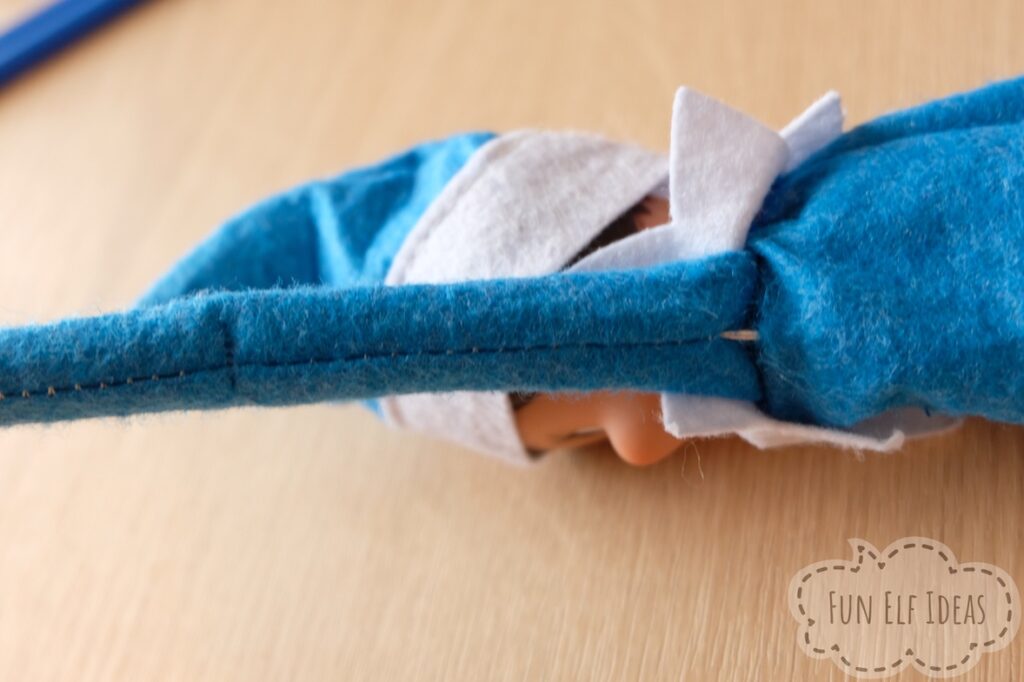
The arm wire should be about 20″ long. You can insert it starting from the open end of the torso or through the tip of the elf’s hand.
As with the legs, make a loop in the end of the wire once you’ve pushed it all the way to the end of the hand.
Repeat for the other arm.
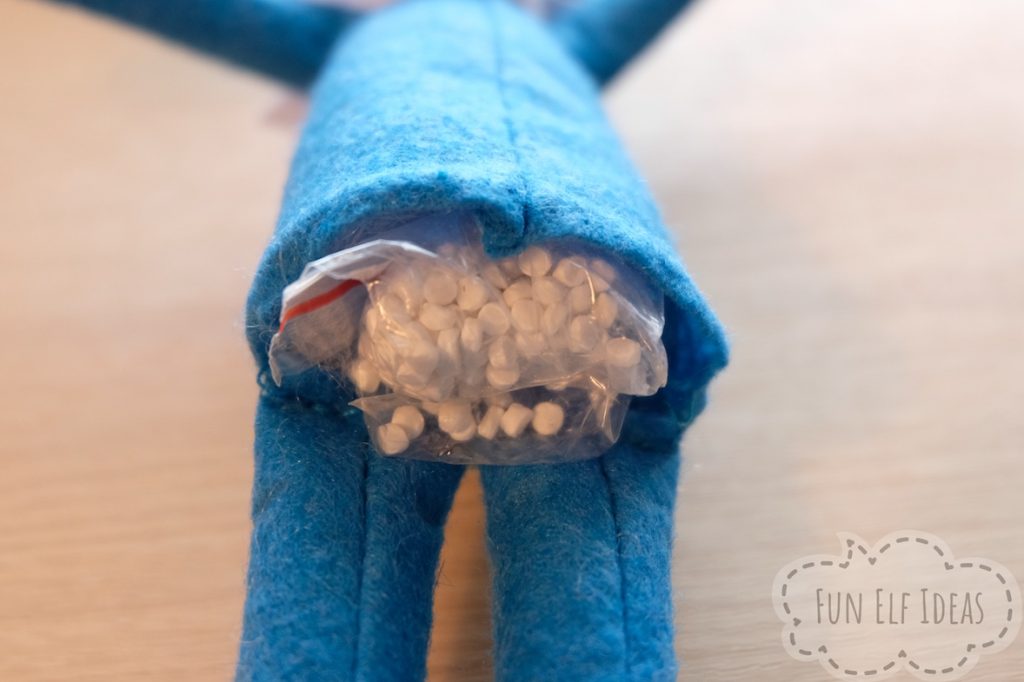
Next, you can re-insert the fluffy poly-filling and the bean bag. Also insert the excess “U” of wire from the legs into the front of the torso piece.
The last step is just to re-sew the seat piece of felt back. It’s just a small circle to stitch around (don’t forget to stitch the legs back into it!) and it’s easy to see where to sew because you can see where it was originally sewn. Just re-trace the stitches and sew it back together.
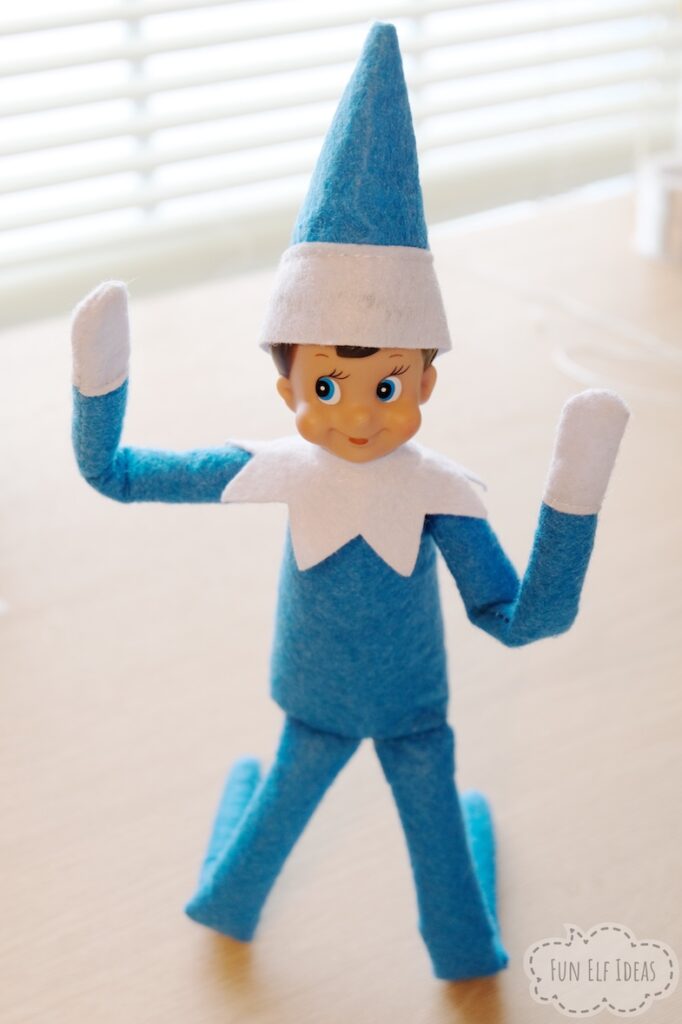
Finally, knot your thread and cut off the extra bit of string, and voila! You now have a bendable elf.
Bendable Elf On The Shelf – Conclusion
I hope you can see how making a bendable elf on the shelf isn’t too hard. It took me about 20 minutes to do this blue elf even though I was also taking pictures of all the steps.
Please pin or share this post if you enjoyed it!


I hope I can pull this off
Good luck! I’ve done several elves using these steps and the same materials shown in the photos. It’s worked well so far!